
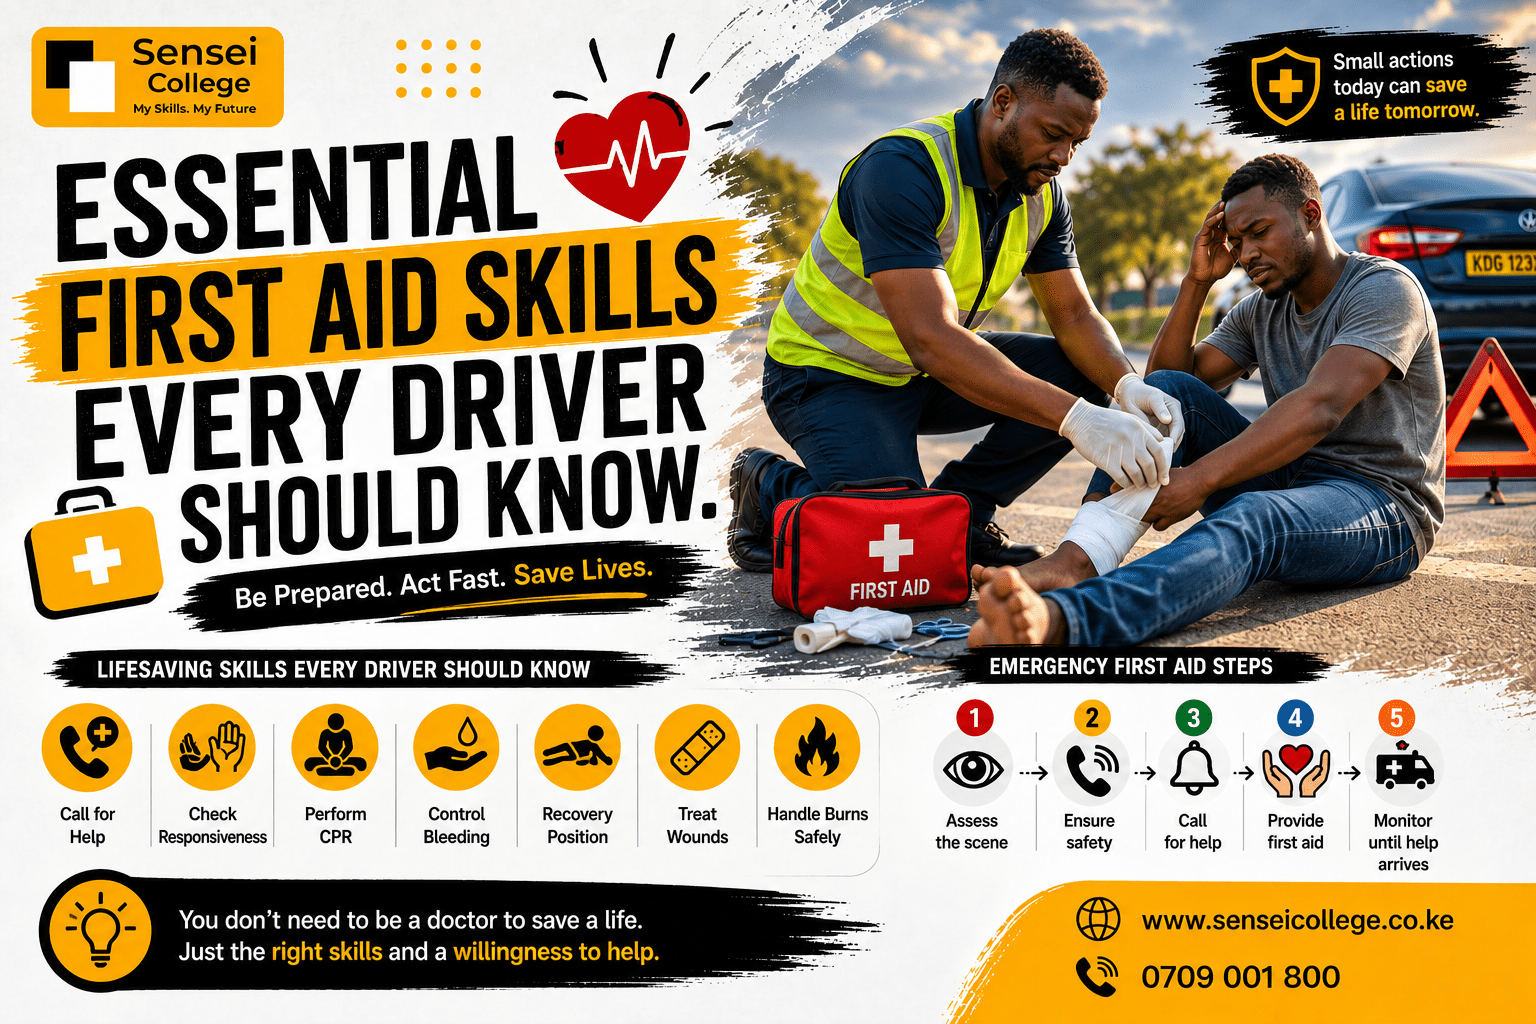
In Kenya, emergency services can take 20 minutes to over an hour to arrive at an accident scene, especially outside major cities. In that time, someone who is bleeding heavily, not breathing, or in shock can die.
As a driver, you will almost certainly come across an accident at some point in your life. What you do in the first 5–10 minutes can be the difference between life and death.
In this guide, we’ll cover how drivers can apply first aid skills to respond effectively and save lives after accidents.
What to do before helping Incase of an accident
- Park your vehicle safely – well off the road, on the verge, not in the road
- Turn on your hazard lights immediately
- Place a warning triangle at least 50 metres behind your vehicle (and behind the accident scene)
- Check for dangers before approaching: fuel leaks, fire, unstable vehicles, oncoming traffic
- Only then approach the victims
If there is a smell of fuel, fire, or smoke near the vehicle, do NOT approach until the fire brigade arrives. A burning vehicle can explode.
STEP 1: Check the Scene and Call for Help
Assess the Situation
As soon as it is safe, quickly assess:
- How many people are injured?
- Are any victims trapped inside a vehicle?
- Is anyone conscious and able to communicate?
- Is anyone bleeding heavily?
- Is anyone not breathing?
Call Emergency Services IMMEDIATELY
Do not wait. Call 999 or 0721 225 285 Kenya Red Cross right away.
Tell them:
- Where you are – be as specific as possible (road name, nearest town, landmark)
- What happened – accident, how many vehicles, approximate number of injured
- What injuries can you see – unconscious, bleeding, trapped person
- Your phone number – in case they need to call back
STEP 2: Check Each Victim Using the ABC Method
For each injured person, check these three things in order:
A – Airway
- Gently tilt the person’s head back and lift the chin – this opens the airway
- Look inside the mouth – if there is vomit, mud, or an object blocking the airway, remove it carefully with your fingers
- Do NOT move a victim’s neck roughly – they may have a spinal injury
B – Breathing
- Look for the chest rising and falling
- Listen by putting your ear close to the mouth
- Feel for breath on your cheek
If they are breathing: Place them in the recovery position (see below) and monitor them.
If they are NOT breathing: Start CPR immediately.
C – Circulation
- Is there visible heavy bleeding? Apply pressure (see bleeding control section).
- Is the person conscious and responding? Talk to them, “Can you hear me? What is your name?”
STEP 3: CPR – Cardiopulmonary Resuscitation
CPR is used when a person is unconscious and not breathing. It keeps blood and oxygen flowing to the brain until medical help arrives.
CPR for Adults – Step by Step
Before starting: Confirm the person is unresponsive by tapping their shoulders firmly and calling “Can you hear me?” If no response, begin CPR.
i). 30 CHEST COMPRESSIONS
- Lay the person flat on their back on a firm surface
- Kneel beside them at chest level
- Place the heel of one hand on the centre of their chest (lower half of the breastbone)
- Place your other hand on top, fingers interlaced
- With straight arms, push down hard and fast at least 5–6 cm deep
- Release fully between compressions; do not leave your hands on the chest
- Do this 30 times, at a rate of approximately 100–120 pushes per minute
ii). 2 RESCUE BREATHS
- Tilt the head back and lift the chin to open the airway
- Pinch the nose closed
- Take a normal breath, seal your mouth over theirs completely
- Blow in steadily for about 1 second and watch for the chest to rise
- Give 2 breaths total
If you are not comfortable giving rescue breaths, Hands-only CPR is still effective and recommended by many health organisations.
iii). CONTINUE THE CYCLE
Repeat: 30 compressions, then 2 breaths, then 30 compressions, then 2 breaths
Continue until:
- The person starts breathing on their own
- Emergency services arrive and take over
- You are physically unable to continue (swap with another bystander if possible)
CPR for Children (Ages 1–12)
- Use one hand only for compressions or two fingers for infants.
- Push down about 4–5 cm, not as deep as for adults
- Give gentler rescue breaths – do not blow hard
- Same ratio: 30 compressions – 2 breaths
STEP 4: Controlling Bleeding
Heavy bleeding can kill in minutes. Your priority is to stop the blood from leaving the body.
Method 1 – Direct Pressure (Most Common)
- Use a clean cloth, clothing, bandage, or anything available
- Press it firmly and directly on the wound
- Press hard and do not lift the cloth – if it soaks through, add more cloth on top
- Maintain firm pressure for at least 10 minutes without stopping
- If possible, elevate the injured limb above the level of the heart
Do NOT remove an embedded object from a wound; it may be preventing blood loss. Apply pressure around it, not on it.
Method 2 – Improvised Tourniquet for Limb Bleeding Only
Use only when bleeding is life-threatening and direct pressure is not working:
- Use a strip of cloth, belt, or bandage at least 5 cm wide
- Tie it above the wound (between the wound and the heart)
- Twist a stick or pen through the loop and turn until bleeding slows or stops
- Fix the stick in place so it does not unwind
- Write the time you applied it on the person’s forehead or skin with a pen or mud
- Do NOT remove the tourniquet; leave it for medical staff
STEP 5: Fractures and Suspected Broken Bones
Signs of a Fracture
- Severe pain at the injury site
- Obvious deformity or unnatural angle
- Swelling and bruising
- Person cannot move or use the limb
What To Do
- Do not try to straighten a broken bone – this can cause more damage
- Keep the person still – movement can worsen the injury
- Immobilise the limb: Support it in the position you found it; use clothing, a board, or any rigid object to splint it
- Pad around the injury with soft material to prevent movement
- Wait for medical help
If you suspect a neck or spine injury, do not move the person unless they are in immediate danger (e.g., fire). Moving someone with a spinal injury incorrectly can paralyse them permanently.
STEP 6: The Recovery Position
If a person is unconscious but breathing, place them in the recovery position to prevent them from choking on vomit or blood.
How to do it:
- Kneel beside the person
- Place the arm nearest to you at a right angle (like they are waving)
- Bring the far arm across their chest, hand resting on the near cheek
- Bend the far knee up with the foot flat on the ground
- Gently roll the person towards you, onto their side
- Tilt the head back slightly to keep the airway open
- Support the top knee to keep the position stable
- Monitor breathing continuously until help arrives
STEP 7: Shock – Recognise and Respond
Shock is a life-threatening condition where not enough blood reaches the vital organs. It can follow any serious injury.
Signs of Shock
- Pale, cold, and clammy skin
- Fast, weak pulse
- Rapid, shallow breathing
- Confusion, dizziness, or anxiety
- Feeling faint or actually fainting
- Blue-tinged lips or fingertips
What To Do
- Lay the person flat on their back
- Raise their legs about 30 cm off the ground (unless legs are broken)
- Keep them warm, cover with a blanket, jacket, or clothing
- Do NOT give them food or water
- Talk to them calmly and reassure them
- Monitor breathing constantly until help arrives
Basic First Aid Kit – Every Vehicle Should Have This
| Item | Purpose |
| Sterile gauze pads (at least 5) | Cover and protect wounds |
| Bandage roll (2 sizes) | Wrap and secure dressings |
| Adhesive plasters (assorted) | Small cuts and scrapes |
| Medical tape | Secure dressings in place |
| Disposable gloves – 2 pairs minimum | Protect yourself from infection |
| Scissors (blunt-ended) | Cut clothing or bandages |
| Safety pins | Secure bandages and slings |
| Triangular bandage | Sling for arm injuries |
| CPR face shield | Give rescue breaths safely |
| Pen and paper | Note time of tourniquet/write information |
| Torch / small flashlight | Night accidents |
| Emergency contacts card | Hospitals, family, NTSA |
For PSV and commercial vehicles: A first aid kit is a legal requirement under Kenyan law. It must be accessible, not locked away in a compartment that takes 5 minutes to open.
What NOT To Do at an Accident Scene
These common mistakes make things worse:
| Dont’s | Do’s |
| Move an injured person unnecessarily | Keep them still unless there is fire or immediate danger |
| Give water or food to an unconscious person | They can choke, keep airway open |
| Remove an object embedded in a wound | Apply pressure around it |
| Crowd around the victim | Give space and air, keep bystanders back |
| Leave the scene before help arrives | Stay, give information to emergency services |
| Shout or panic near the victim | Speak calmly, it reduces their panic too |
| Pull a motorcyclist’s helmet off roughly | Support the neck; only remove the helmet if they are not breathing |
Conclusion
First aid is a life skill that every driver and every adult should know.
Road accidents in Kenya happen every single day. You may be the first person at the scene. You may be the only person who can help in the critical first minutes before an ambulance arrives.
The skills in this guide, CPR, bleeding control, the recovery position, and shock management, are simple enough to learn in an afternoon. They are powerful enough to save a life.