
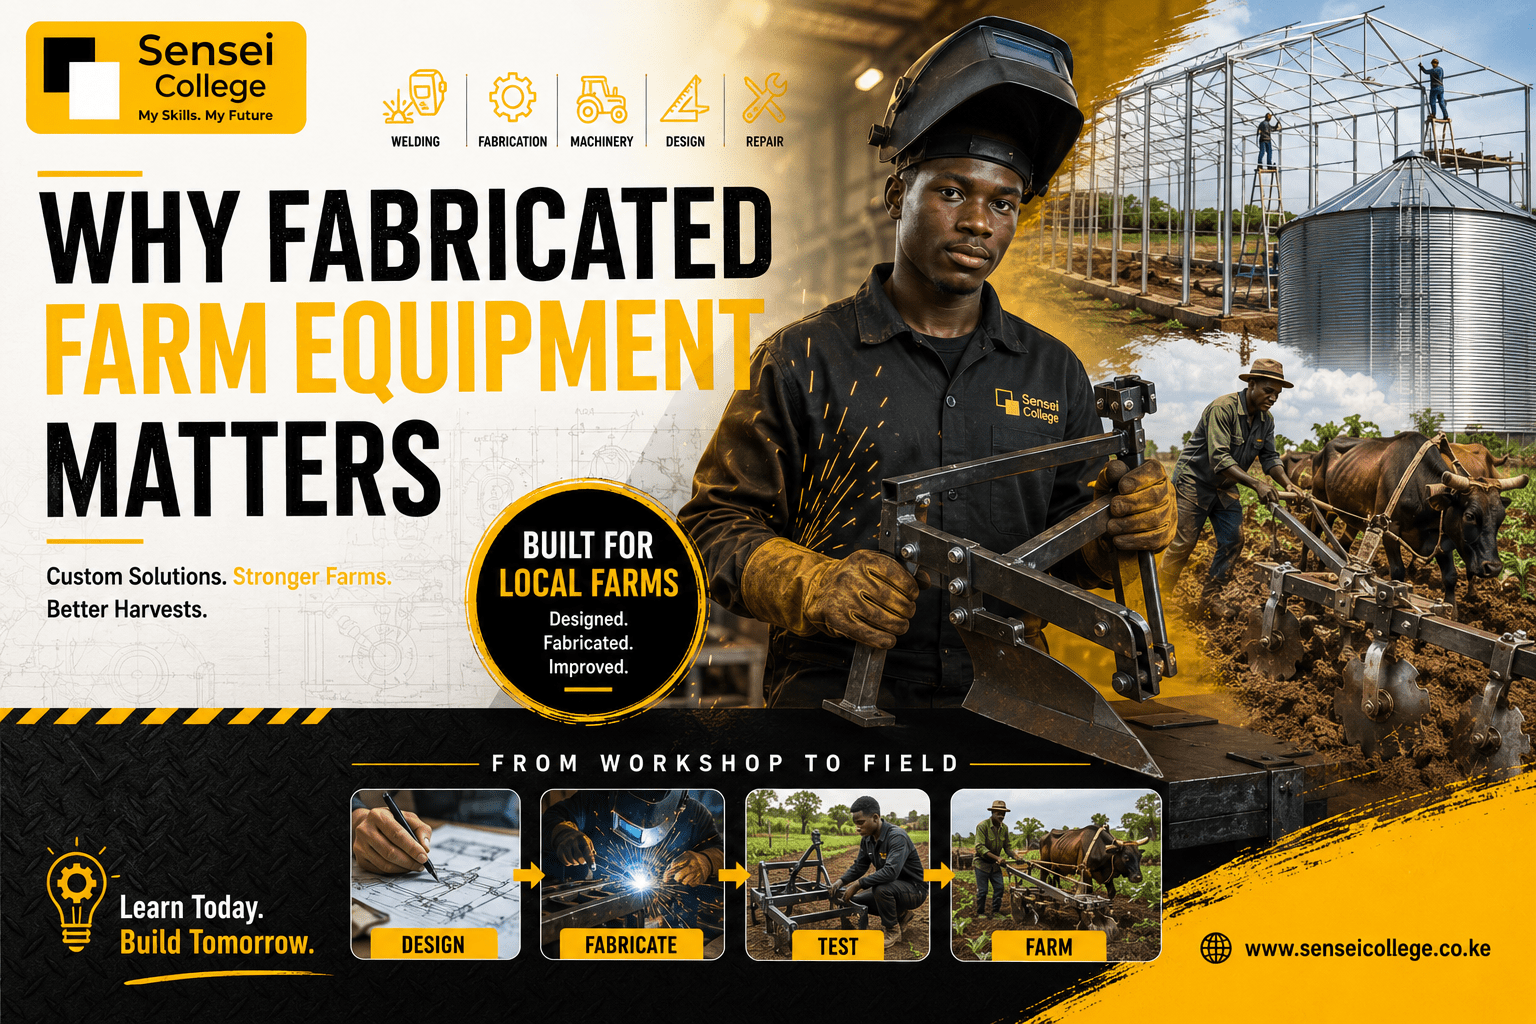
The skill of creating and customizing agricultural tools using welding, forging, and metalworking is one of the most practical and in-demand skills in rural Kenya. It bridges the gap between what farmers need and what the market provides.
This article guides the fabrication of farm equipment, from understanding the basics of welding and forging to building specific tools, managing a fabrication business.
What Is Farm Equipment Fabrication?
Farm equipment fabrication is the process of designing, manufacturing, repairing, and customising agricultural tools and machinery using metalworking skills, primarily welding and forging, alongside cutting, bending, and machining.
Key Processes Explained Simply
Welding is the process of joining two or more pieces of metal together by melting them at the joint and fusing them. The result is a strong, permanent bond.
Forging is the process of shaping hot metal by hammering, pressing, or bending it. Metal is heated to a specific temperature until it is soft enough to reshape without breaking.
This process creates tools that are stronger than cast metal because the grain structure of the metal is compressed and aligned.
Cutting involves using tools like grinders, plasma cutters, or saws to cut metal to the right shape and size.
Bending and Rolling shape flat metal sheets or rods into curves, angles, or cylinders using presses and rollers.
Machining uses lathes and milling machines to create precision parts like shafts, gears, and pulleys.
Why Farm Equipment Fabrication Matters in Kenya
-
The Problem with Imported Farm Tools
Imported tools often do not fit the specific needs of Kenyan farmers, who have:
- Different soil types (heavy clay in western Kenya, rocky soils in the highlands, sandy soils in arid regions).
- Different field sizes (most Kenyan farms are under 2 acres).
- Different crops (each crop has different spacing, depth, and harvesting requirements).
- Different power sources (most smallholders use hand tools or ox-drawn equipment, not tractors).
-
The Economic Opportunity
When tools are fabricated locally:
- Costs are lower – no import duties, shipping fees, or middlemen.
- Repairs are faster – the fabricator is nearby, not in Germany or India.
- Customization is possible – tools can be modified to fit specific conditions.
- Local money stays local – income circulates in the community.
-
Supporting Food Security
Better tools mean better farming. A well-made ridger that perfectly matches a farmer’s field makes planting faster, reduces drudgery, improves soil structure, and ultimately increases yields. Multiply this across thousands of farms, and the impact on food production is enormous.
How to Fabricate Farm Equipment
1. Understand the Farmer’s Needs
Great fabrication starts with listening. Before touching any metal, a good fabricator:
- Visits the farmer’s field to understand the soil type, slope, and conditions.
- Asks about the crop – different crops need different tools.
- Understands the power source – will the tool be hand-operated, ox-drawn, or tractor-mounted?
- Discusses dimensions – row spacing, planting depth, and blade width needed.
- Agrees on materials and cost before starting work.
2. Design and Measurement
- Sketch the tool on paper or use simple CAD software for more complex designs.
- List all dimensions – length, width, thickness, angles.
- Identify the materials needed – which grade of steel, what thickness, what length.
- Calculate material quantities and cost.
3. Material Selection and Preparation
Choosing the right metal is critical for durability:
- Mild steel (low carbon steel): General-purpose. Good for tool bodies, frames, and handles.
- High carbon steel: Harder and more wear-resistant. Used for cutting edges (hoe blades, plough shares, slasher blades).
- Stainless steel: Corrosion-resistant. Used where rust is a concern (e.g., irrigation parts).
- Galvanized steel: Steel coated with zinc to resist rust. Used for grain silos and water structures.
Prepare materials by:
- Cutting to required lengths with a grinder or cut-off saw.
- Removing rust, paint, or grease from weld areas.
- Marking cut and drill lines clearly.
4. Fabrication – Welding Process
The most common welding method for farm equipment fabrication in Kenya is Shielded Metal Arc Welding (SMAW), commonly called stick welding.
Step-by-Step Welding Process:
- Set up safely: Put on your welding helmet, gloves, and protective clothing. Ensure good ventilation.
- Prepare the joint: Clean the metal surfaces. Fit the pieces together accurately a small misalignment now becomes a big problem later.
- Choose the right electrode: Different electrodes suit different metals and joint types. For mild steel, E6013 electrodes are common for general work; E7018 for stronger joints.
- Set amperage: Too high and you burn through the metal; too low and you get poor fusion. Typical range for 3.2mm electrodes: 90–130 amps.
- Strike the arc: Touch the electrode to the base metal and lift slightly to maintain the arc.
- Make the weld: Move the electrode steadily along the joint. Maintain a consistent arc length (approximately equal to the electrode diameter).
- Complete and cool: When done, allow the weld to cool. Never quench with water; rapid cooling causes cracking.
- Clean the weld: Use a chipping hammer to remove slag, the hardened flux covering. Brush with a wire brush.
- Inspect the weld: Check for porosity, cracks, undercut, or insufficient fusion.
- Grind smooth: For visible or functional surfaces, grind welds smooth with an angle grinder.
5. Forging the Cutting Edge
For tools that need a sharp, hardened cutting edge (hoe blades, plough shares):
- Heat the metal: Use a forge (gas forge or coal forge) to heat the steel to forging temperature, bright orange to yellow-white (typically 900–1200°C).
- Shape by hammering: On an anvil, hammer the hot metal into the desired shape. Work quickly but accurately.
- Grind the edge: Once shaped and cooled, grind the cutting edge on a bench grinder or angle grinder.
- Harden and temper: For high-carbon steel tools, hardening (quenching in oil or water) followed by tempering (controlled reheating) gives the tool the right balance of hardness and toughness.
6. Assembly and Finishing
- Assemble all components – attach handles, reinforce joints, add brackets.
- Sand and clean all surfaces.
- Paint or galvanize to prevent rust. For tools that contact soil, use a durable paint or leave bright metal surfaces that will self-polish with use.
- Sharpen cutting edges to the final working sharpness.
7. Testing
Test the tool under real conditions where possible. Does it work as the farmer needed? Are adjustments required? The best fabricators follow up with their customers to learn and improve.
Common Farm Tools and How to Fabricate Them
i). The Jembe (Hoe)
Components: Blade (high carbon steel), socket (mild steel), handle (wood or steel pipe).
Process: Cut blade from flat steel bar. Forge or grind the cutting edge. Forge or roll the socket. Weld socket to blade. Harden the blade edge. Attach handle.
ii). Ox-Drawn Ridger
Components: Frame (mild steel angle iron), share (high carbon steel), moldboard (steel sheet), hitching components.
Process: Design frame to match the farmer’s animal spacing. Weld frame from angle iron. Forge share and weld to beam. Shape moldboard and weld. Add adjustable depth control.
iii). Metal Grain Silo
Components: Galvanized iron sheets, base, lid, outlet, sealing materials.
Process: Cut sheets to dimension. Roll into cylinder. Lock-seam the joints. Solder or rivet. Fabricate and attach base and lid. Test for airtightness.
iv). Greenhouse Frame
Components: Mild steel square tubing or pipe, connectors, bracing.
Process: Cut tubing to required lengths. Weld a level base frame. Erect uprights. Add ridge beam and purlins. Brace diagonally. Attach cover clips.
Tools and Equipment for Farm Fabrication
Basic Welding Setup
- Arc welding machine (MMA/SMAW) – 200–400 amp capacity
- Welding electrodes (assorted)
- Welding helmet (auto-darkening preferred)
- Welding gloves and protective clothing
- Chipping hammer and a wire brush
- Angle grinder with cutting and grinding discs
- Vice and welding clamps
- Steel measuring tape, square, and marker
Forging Equipment
- Gas forge or coal forge
- Anvil
- Hammers (ball-peen, cross-peen, sledgehammer)
- Tongs (for holding hot metal)
- Quench tank (oil or water)
- Bench grinder
Advanced Equipment (For Larger Workshops)
- MIG (GMAW) welder – faster, cleaner welds for production work
- TIG (GTAW) welder – precision welding for stainless steel and thin materials
- Plasma cutter – fast, clean cutting
- Hydraulic press – for bending and forming
- Metal lathe – for machining shafts and round components
- Drill press
- Band saw
Measuring and Design Tools
- Steel ruler, tape measure, and calipers
- Combination square and protractor
- Center punch and scribe
- Drawing templates
Insights for Experienced Fabricators
Material Science for Better Tools
Understanding steel grades helps you choose the right material for each component:
- Mild steel (S235, S275, S355): Structural work. Easy to weld.
- Medium carbon steel (0.3–0.6% carbon): Stronger. For shafts and parts under moderate stress.
- High carbon steel (0.6–1.4% carbon): Hard but brittle if not treated. For cutting edges.
- Spring steel: For flexible components that need to return to shape.
- Wear-resistant steel (Hardox): For components that contact abrasive soil constantly.
Heat Treatment for Durability
Properly heat-treated cutting tools last 3–5 times longer than non-treated ones:
- Hardening: Heat to austenitizing temperature – quench rapidly in oil or water – very hard but brittle.
- Tempering: Reheat to lower temperature (150–400°C) – controlled cooling – reduces brittleness while retaining hardness.
- Case hardening: Surface-only hardening for tools that need a hard exterior but tough core.
Ergonomic Design for Farm Tools
A tool that is uncomfortable to use is a tool that causes injury and reduces productivity. Advanced fabricators design for:
- Correct handle length for the user’s height.
- Optimal blade angle to reduce back strain during use.
- Balanced weight distribution.
- Grip geometry for maximum power transfer with minimum effort.
Agricultural Machinery Design Principles
For larger equipment like planters and threshers, fabricators should understand:
- Draft force requirements (how much pull is needed).
- Ground clearance for different terrain.
- Soil dynamics – how different blade shapes interact with different soil types.
- Speed and throughput for mechanized equipment.
Common Challenges and Solutions
1. Weak or Broken Welds
Most weld failures come from poor joint preparation, wrong electrode, wrong amperage, or rushing. Take time to prepare clean, well-fitted joints. Practice consistently.
2. Warping During Welding
Heat causes metal to expand and contract unevenly, causing distortion. Use tack welds first to hold position. Weld in short, alternating sequences rather than one long continuous pass.
3. Cutting Edges That Wear Too Fast
Use high-carbon or wear-resistant steel for cutting components. Apply correct heat treatment. Harden and temper properly.
4. Rust on Finished Tools
Apply primer and paint promptly after fabrication. Use galvanized or stainless steel for components exposed to moisture. Encourage customers to oil tools after use.
5. Tools That Do Not Fit Farmer’s Conditions
Always do a field assessment before design. Take measurements on the actual farm. Build in adjustability where possible.
6. Getting the Right Materials in Rural Areas
Build relationships with steel suppliers in the nearest town. Learn to substitute where necessary. Buy in bulk with other fabricators to reduce cost and ensure availability.
Cost Considerations
Setting Up a Basic Fabrication Workshop
| Equipment/Item | Estimated Cost (KES) |
| Arc welding machine (200A) | 15,000 – 40,000 |
| Angle grinder + discs | 4,000 – 10,000 |
| Basic tool set | 5,000 – 15,000 |
| Welding PPE (helmet, gloves, etc.) | 3,000 – 8,000 |
| Anvil and hammers (forging) | 8,000 – 25,000 |
| Workshop space setup | 20,000 – 80,000 |
| Total basic setup | 55,000 – 178,000 |
Income Per Tool
| Tool | Fabrication Time | Selling Price (KES) |
| Custom jembe | 1–2 hours | 500 – 1,500 |
| Ox ridger | 2–3 days | 8,000 – 20,000 |
| Metal grain silo (500kg) | 1–2 days | 8,000 – 18,000 |
| Greenhouse frame (8m × 15m) | 3–5 days | 60,000 – 150,000 |
Career Opportunities and Business Potential
Employment Paths
- Agricultural machinery technician with NGOs, cooperatives, or equipment manufacturers.
- Welding instructor at technical training institutions.
- Workshop supervisor at fabrication companies.
Business Paths
- Custom fabrication workshop: Make and repair tools to order. Demand in rural Kenya is virtually unlimited.
- Tool manufacturing: Standardize designs and produce in volume for distribution to agro-dealers.
- Greenhouse installation business: High-growth sector, especially in horticulture.
- Tractor and machinery repair: Pair fabrication skills with mechanical knowledge for a full agri-engineering service.
- Irrigation equipment fabrication: Growing demand with expanding irrigation schemes.
Expert Recommendations
- Learn to weld properly first: Good welding is the foundation. Take time to master joint preparation, electrode selection, and technique before moving on to complex fabrication.
- Study agriculture, not just metalwork: The best agricultural fabricators understand farming; they know what crops need, what soils are like, and how farmers work.
- Start with simple tools: Build your skills and reputation with well-made, simple tools before tackling complex machinery.
- Build a portfolio: Photograph every tool you make. Show farmers what you can do.
- Offer repairs as well as new work: Repairing broken tools builds relationships and brings in steady income while you grow your fabrication business.
- Price fairly but confidently: Know your material costs, time, and overheads. Do not underprice, it devalues your skill and is not sustainable.
- Never stop learning: Agricultural technology is advancing. Keep up with new designs, materials, and methods.
Conclusion
Sensei Colleges’ farm equipment fabrication courses combine welding, forging, and agricultural engineering knowledge to produce graduates ready to work immediately.
Students learn on real projects, making actual tools for real farmers, giving them both technical skill and business confidence before they finish their training
Farm equipment fabrication is a bridge between the skills of the workshop and the needs of the field.
In Kenya, where millions of small-scale farmers struggle with tools that do not fit their reality, a skilled agricultural fabricator is one of the most valuable people in any farming community.
The best farm tool is the one built for the exact farmer who needs it. Be the person who can build it.