
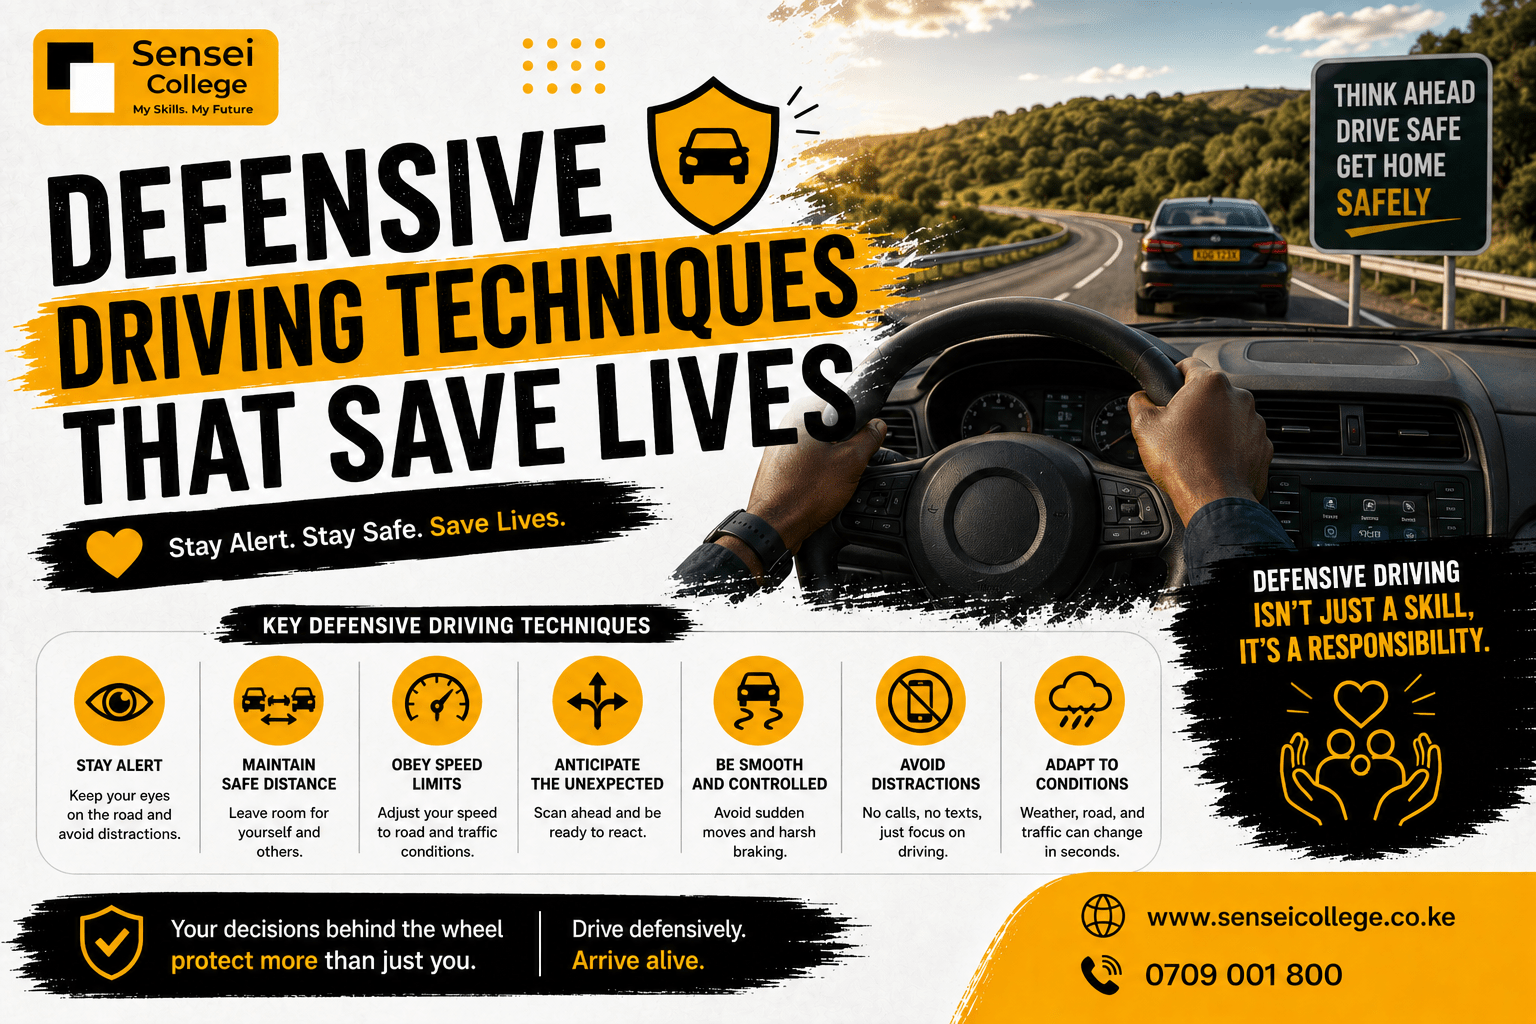
What Is Defensive Driving?
Defensive driving means driving in a way that protects you from accidents, even when other drivers make mistakes.
A defensive driver:
- Always expects the unexpected
- Scans the road far ahead, not just directly in front
- Maintains a safe following distance at all times
- Never assume another driver will follow the rules
- Is always in control of speed and position on the road
The 3-Second Rule
Pick a fixed object on the road ahead: a sign, a tree. When the car in front passes it, count: “One thousand one… one thousand two… one thousand three.”
If you pass the same object before finishing the count, you are too close.
- In rain or poor visibility – use the 6-second rule
- At night – use the 6 to 8-second rule
- Behind large trucks – use the 4-second rule, they stop more slowly and block your view
Core Principles of Defensive Driving
| Principle | What It Means |
| Scan ahead | Look 12–15 seconds ahead, not just the car in front |
| Manage space | Keep space on all four sides of your vehicle |
| Control speed | Drive at a speed that lets you stop safely in the space you can see |
| Be visible | Make sure others can see you use lights, signals, and road position |
| Communicate | Signal early, make eye contact, use the horn when necessary |
BRAKE FAILURE – What To Do Step by Step
Why Brakes Fail
Brake failure is rare, but it does happen, especially in older vehicles or those that have not been serviced.
Common causes:
- Brake fluid leak (loss of hydraulic pressure)
- Overheated brakes from prolonged downhill driving
- Brake pads worn completely down
- Air in the brake lines
- Damaged brake cables (for drum brakes)
WARNING SIGNS of Brake Problems
Do not wait for total failure.
Watch for:
- Brakes feel “soft” or spongy when you press them
- The car pulls to one side when braking
- Grinding or squealing noise when braking
- The brake warning light on the dashboard is on
- The vehicle takes much longer than usual to stop
If you notice any of these, stop driving immediately and get the vehicle inspected.
EMERGENCY: Brakes Fail While Driving
STEP 1 – PUMP THE BRAKE PEDAL RAPIDLY
If your brakes feel weak or soft, pump them fast and hard several times.
This works because: pumping can rebuild hydraulic pressure in the brake lines and may restore some braking power.
Works best in vehicles without ABS (Anti-lock Braking System)
STEP 2 – DOWNSHIFT TO A LOWER GEAR
- Automatic car: Move the gear selector from D to 2 or L (Low)
- Manual car: Shift from 5th – 4th – 3rd -2nd gear progressively
This uses engine braking, where the engine resists the forward motion and slows the vehicle down.
Do not jump directly to 1st gear at high speed; this can cause the car to skid.
STEP 3 – APPLY THE HANDBRAKE SLOWLY
Gradually pull up the handbrake. Do NOT yank it suddenly at speed, this locks the rear wheels and can cause you to spin.
Apply it slowly and steadily to help reduce speed.
STEP 4 – LOOK FOR A SAFE PLACE TO STOP
While slowing down, steer towards:
- A grass verge or soft ground at the side of the road
- An uphill slope, which helps slow you down naturally
- Sand, gravel, or rough ground
- A barrier – as a last resort, a gentle scrape against a guard rail or kerb can slow you down
Avoid: other vehicles, pedestrians, sharp drops, water, and fuel stations.
STEP 5 – TURN ON HAZARD LIGHTS AND SOUND YOUR HORN
Alert other drivers that something is wrong. Use your horn continuously to warn pedestrians and vehicles ahead.
STEP 6 – ONCE STOPPED, DO NOT DRIVE THE VEHICLE AGAIN
Turn off the engine. Put on hazard lights. Place a warning triangle 50 metres behind your vehicle. Call for roadside assistance or a mechanic.
TYRE BLOWOUT – What To Do Step by Step
What Is a Tyre Blowout?
A blowout is when a tyre bursts suddenly while you are driving. It creates an explosive sound and can violently pull the vehicle to one side. At high speed, this can be fatal if you react incorrectly.
Reasons why tyres blow out
- Tyres that are old, worn, or bald (no tread)
- Underinflated tyres – too little air pressure
- Overloaded vehicle
- Sharp objects (nails, broken glass, rocks) on the road
- Heat – tyres overheat on long journeys in Kenya’s hot weather
EMERGENCY: Tyre Blowout While Driving
The most dangerous instinct is to brake hard. Do NOT do this.
STEP 1 – Hold The Steering Wheel Firmly With Both Hands
The vehicle will pull sharply toward the blown tyre side. Counter-steer to keep going straight. Grip firmly – do not fight the wheel, but guide it.
STEP 2 – Do Not Brake Instead, Gently Accelerate
A gentle press on the accelerator helps keep the vehicle stable and prevents it from spinning.
Hold your speed briefly, then ease off the accelerator slowly.
STEP 3 – Let The Vehicle Slow Down Naturally
Do not use the brakes yet. Allow engine braking and rolling resistance to reduce your speed naturally. Keep the vehicle as straight as possible.
STEP 4 – Once Below 30 KM/H, Gently Apply Brakes
Only when you are at a low speed should you gently press the brakes to bring the vehicle to a full stop.
STEP 5 – Steer To The Side Of The Road
Signal, check mirrors, and carefully move to the left side of the road or onto the verge. Turn on your hazard lights.
STEP 6 – Change The Tyre or Call For Help
- Place a warning triangle at least 50 metres behind your vehicle
- Change to your spare tyre if it is in good condition
- If there are no spares, call for roadside assistance
Front vs Rear Blowout – What Is Different?
| Front Tyre Blowout | Rear Tyre Blowout | |
| Effect | Strong pull to one side; steering becomes heavy | Vehicle fishtails (back swings side to side) |
| Response | Firm grip + gently accelerate to stabilise | Same, do NOT brake; let the car straighten |
| Danger level | Very high hardest to control | High easier to overcorrect |
Preventive Maintenance Tips
The best emergency technique is to prevent the emergency from happening.
Brake Maintenance Checklist
- Check brake fluid level every month; it should be between MIN and MAX marks
- Have brake pads inspected every 20,000 km or once a year
- Listen for grinding sounds – this means brake pads are worn out
- On long downhill roads: use a lower gear instead of riding the brakes the entire way
- Service your brakes at a certified garage – not a roadside “jua kali” mechanic for critical brake work
Tyre Maintenance Checklist
- Check tyre pressure every 2 weeks; use a gauge – do not rely on “looks”
- Check tread depth – insert a matchstick; if no groove grips it, replace the tyre
- Rotate tyres every 10,000 km
- Check spare tyre -make sure it is inflated and not cracked
- Avoid overloading the vehicle – excess weight destroys tyres faster
- Replace tyres older than 5 years, even if they look okay, because rubber degrades
Conclusion
The difference between a fatal accident and a near-miss often comes down to what you do in the first 3 seconds of an emergency.
The steps in this guide can save your life only if you study them. Practise thinking through the scenarios. And most importantly, maintain your vehicle so emergencies become less likely.